Homemade Reese’s Cups Recipe
Highlighted under: Sweet Oven Stories
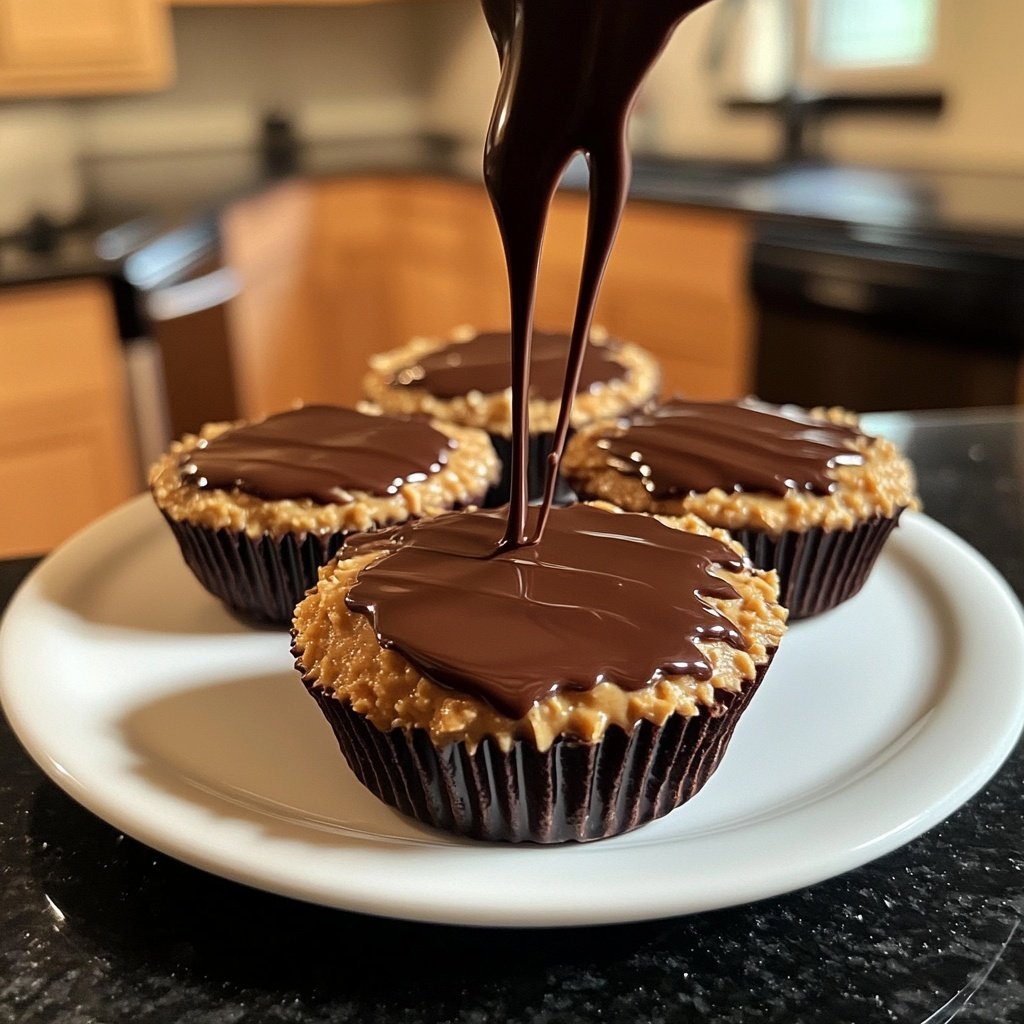
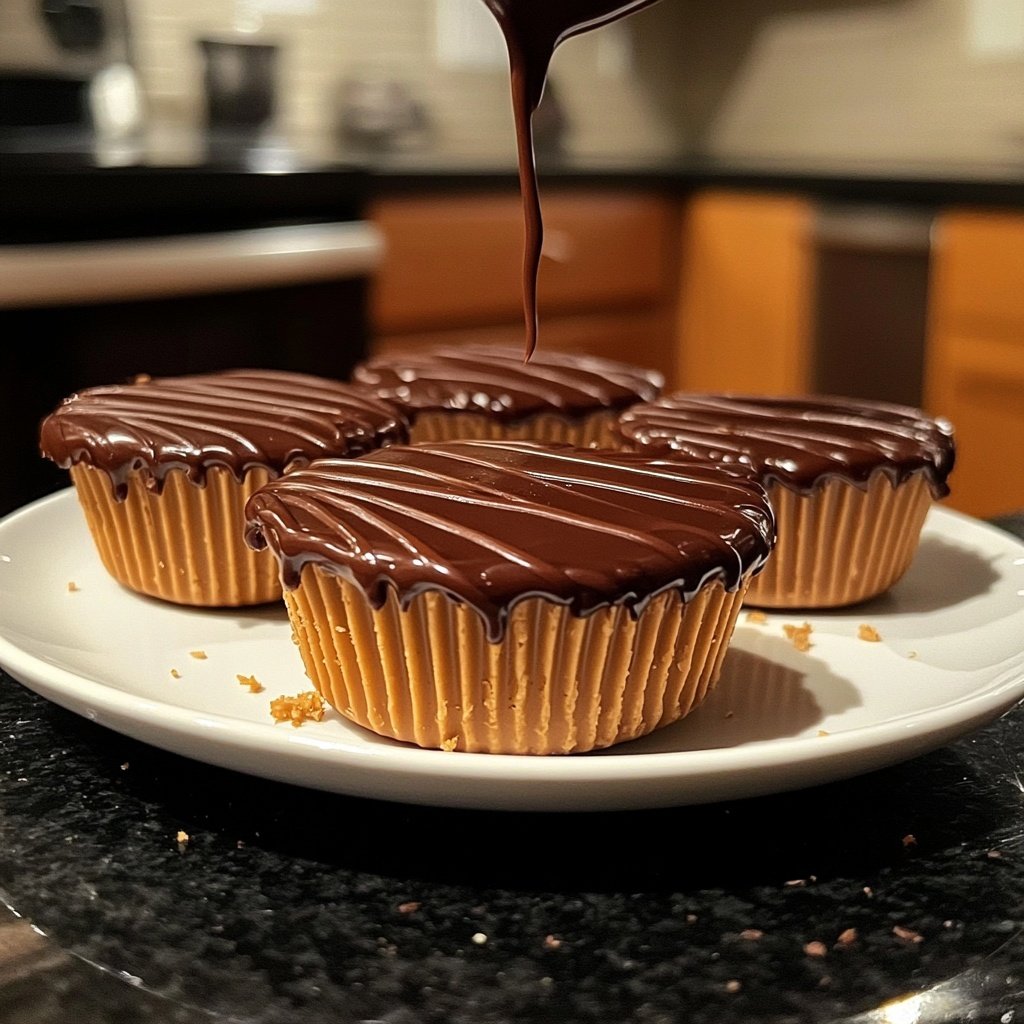
Indulge in the rich chocolate and creamy peanut butter goodness of homemade Reese’s Cups. This easy recipe allows you to create your own delicious treats right in your kitchen.
Creating homemade Reese’s Cups is a delightful experience that brings the joy of chocolate and peanut butter together. Perfect for sharing or enjoying yourself!
Why You'll Love This Recipe
- Rich chocolate flavor paired with creamy peanut butter
- Customizable with your favorite chocolate type
- Perfect for gifts or special occasions
- Easy to make and fun for the whole family
The Perfect Treat for Any Occasion
Homemade Reese’s Cups are not just a delightful treat; they're perfect for any occasion. Whether you're celebrating a birthday, hosting a movie night, or simply craving something sweet, these cups fit the bill. Their rich chocolate exterior and creamy peanut butter filling are sure to impress family and friends alike. Plus, they make a fantastic dessert option for gatherings, ensuring everyone leaves with a smile.
Moreover, these little delights can also be packaged beautifully for gift-giving. Imagine surprising a loved one with a box of homemade Reese’s Cups, lovingly made with your own hands. It’s a thoughtful gesture that shows you care, and it’s bound to be appreciated. Customize the packaging to match the occasion, and they become a memorable gift.
Customizing Your Reese’s Cups
One of the best aspects of this recipe is its versatility. You can easily customize your homemade Reese’s Cups to suit your taste preferences. If you prefer dark chocolate, simply swap out the semi-sweet chocolate chips for dark chocolate ones. For those who enjoy a sweeter treat, milk chocolate can be a delightful alternative. You can even experiment with flavored chocolate, like mint or caramel, to add a unique twist.
Additionally, consider adding mix-ins to the peanut butter filling for extra flavor and texture. Chopped nuts, mini chocolate chips, or even a sprinkle of sea salt can elevate your cups to a whole new level. The possibilities are endless, allowing you to create a signature version that reflects your personal taste.
Tips for Success
To ensure your homemade Reese’s Cups turn out perfectly, follow these simple tips. First, make sure to measure your ingredients accurately. This is crucial for achieving the right consistency in both the chocolate and the peanut butter filling. Too much powdered sugar can make the filling overly sweet, while too little may result in a runny texture.
Next, be patient when melting the chocolate. Stirring every 30 seconds helps prevent overheating, which can lead to a grainy texture. If you notice any clumps after melting, simply stir until smooth. Finally, allow the cups to chill properly in the refrigerator. This step is vital for the chocolate to set, ensuring a satisfying snap when bitten into.
Ingredients
Ingredients
For the Chocolate Layer
- 1 cup semi-sweet chocolate chips
- 1 tablespoon coconut oil
For the Peanut Butter Filling
- 1 cup creamy peanut butter
- 1/2 cup powdered sugar
- 1/2 teaspoon vanilla extract
Make sure to use high-quality chocolate for the best flavor.
Instructions
Instructions
Melt the Chocolate
In a microwave-safe bowl, combine the chocolate chips and coconut oil. Microwave in 30-second intervals, stirring until smooth.
Prepare the Cups
Line a muffin tin with paper liners. Spoon a small amount of melted chocolate into each liner, just enough to cover the bottom. Refrigerate for 10 minutes to set.
Make the Filling
In a mixing bowl, combine peanut butter, powdered sugar, and vanilla extract. Mix until smooth and well combined.
Assemble the Cups
Remove the muffin tin from the refrigerator. Add a dollop of the peanut butter mixture on top of the chocolate layer in each cup. Then, top with more melted chocolate, ensuring the peanut butter is completely covered.
Chill and Serve
Return the muffin tin to the refrigerator and allow the cups to set for at least 20 minutes. Once firm, remove from the liners and enjoy!
Store any leftovers in an airtight container in the refrigerator.
Pro Tips
- Feel free to experiment with different types of chocolate or add toppings like crushed nuts for extra texture.
Storage Tips
Homemade Reese’s Cups can be stored for later enjoyment, making them a convenient treat to have on hand. To keep them fresh, place the cups in an airtight container. They can be stored at room temperature for up to a week, but for longer shelf life, consider refrigerating them. This will help maintain their texture and flavor, especially in warmer climates.
If you want to make a big batch, these cups also freeze well. Simply layer them between parchment paper in a freezer-safe container and store them for up to three months. When you're ready to enjoy, let them thaw at room temperature for a few minutes before indulging. This makes it easy to have a sweet treat ready whenever the craving hits.
Nutritional Information
While homemade Reese’s Cups are undoubtedly a treat, it's helpful to be mindful of the nutritional aspects. Each cup contains a good amount of protein from the peanut butter, along with healthy fats. However, they are also rich in sugar and calories, so moderation is key. Enjoy them as an occasional indulgence rather than a daily snack.
If you're looking to make a healthier version, consider using natural peanut butter without added sugars or oils. You can also explore sugar substitutes in the filling, like maple syrup or agave nectar, for a lower-calorie alternative. This way, you can satisfy your sweet tooth while still being mindful of your dietary choices.
Questions About Recipes
→ Can I use crunchy peanut butter instead of creamy?
Yes, crunchy peanut butter will add a nice texture to the filling.
→ How long do these homemade Reese’s Cups last?
They can be stored in the refrigerator for up to two weeks.
→ Can I use dark chocolate instead of semi-sweet?
Absolutely! Dark chocolate will give a richer flavor.
→ Is it possible to make these vegan?
Yes, use dairy-free chocolate and a plant-based alternative for peanut butter.
Homemade Reese’s Cups Recipe
Created by: Lydia Barrett
Recipe Type: Sweet Oven Stories
Skill Level: Beginner
Final Quantity: 12 cups
What You'll Need
For the Chocolate Layer
- 1 cup semi-sweet chocolate chips
- 1 tablespoon coconut oil
For the Peanut Butter Filling
- 1 cup creamy peanut butter
- 1/2 cup powdered sugar
- 1/2 teaspoon vanilla extract
How-To Steps
In a microwave-safe bowl, combine the chocolate chips and coconut oil. Microwave in 30-second intervals, stirring until smooth.
Line a muffin tin with paper liners. Spoon a small amount of melted chocolate into each liner, just enough to cover the bottom. Refrigerate for 10 minutes to set.
In a mixing bowl, combine peanut butter, powdered sugar, and vanilla extract. Mix until smooth and well combined.
Remove the muffin tin from the refrigerator. Add a dollop of the peanut butter mixture on top of the chocolate layer in each cup. Then, top with more melted chocolate, ensuring the peanut butter is completely covered.
Return the muffin tin to the refrigerator and allow the cups to set for at least 20 minutes. Once firm, remove from the liners and enjoy!
Extra Tips
- Feel free to experiment with different types of chocolate or add toppings like crushed nuts for extra texture.
Nutritional Breakdown (Per Serving)
- Calories: 380 kcal
- Total Fat: 26g
- Saturated Fat: 15g
- Cholesterol: 0mg
- Sodium: 85mg
- Total Carbohydrates: 32g
- Dietary Fiber: 3g
- Sugars: 24g
- Protein: 6g